#7: Get Ready to Garden
Hello everyone,
Happy spring! May is here, the sun is out, and we are excited to get outside. We have a number of outdoor activities for you this week, including garden exploration, nature crafts, and orange-peel bird-feeders.
Garden Exploration

Germinate seeds from your windowsill
You can grow sprouts from seeds, or germinate them, without soil. All you need to do is take a few dried, uncooked beans, peas, or seeds, and put them in a small plastic bag with a wet paper towel. Take them to a window that gets a lot of sunlight and watch it grow over the next week or two. You can also record the seed’s progress by drawing pictures of it each day.
Seeds are dormant, meaning that they need natural stimuli like water, air, and sunlight to start germinating. Once awake, it will become a sprout, when there is enough nutrients inside the seed for it to grow on its own. Some might even become seedlings and start to grow roots and leaves. After that, they will need to be planted in the ground for food. The next activity can show you an easy way to plant them.
Another resource for this activity
eggshell planters
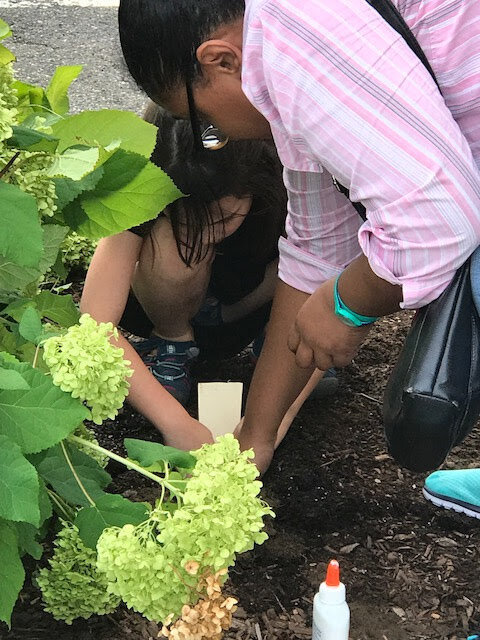
For this activity, you’ll need eggshells with two thirds of the shell in tact. Save any shell bits if you can.
Once you have eggshells to plant your seeds or sprouts from the last activity, then you’ll need some soil. Collect a bin of soil outside, pick out any big rocks, and crush and mix the eggshell bits in for extra nutrients. Spoon some wet soil into the eggshells, add the seeds and a bit more water. Plant them outside, mist them everyday and see how they do.
Another resource for this activity
bug hunts
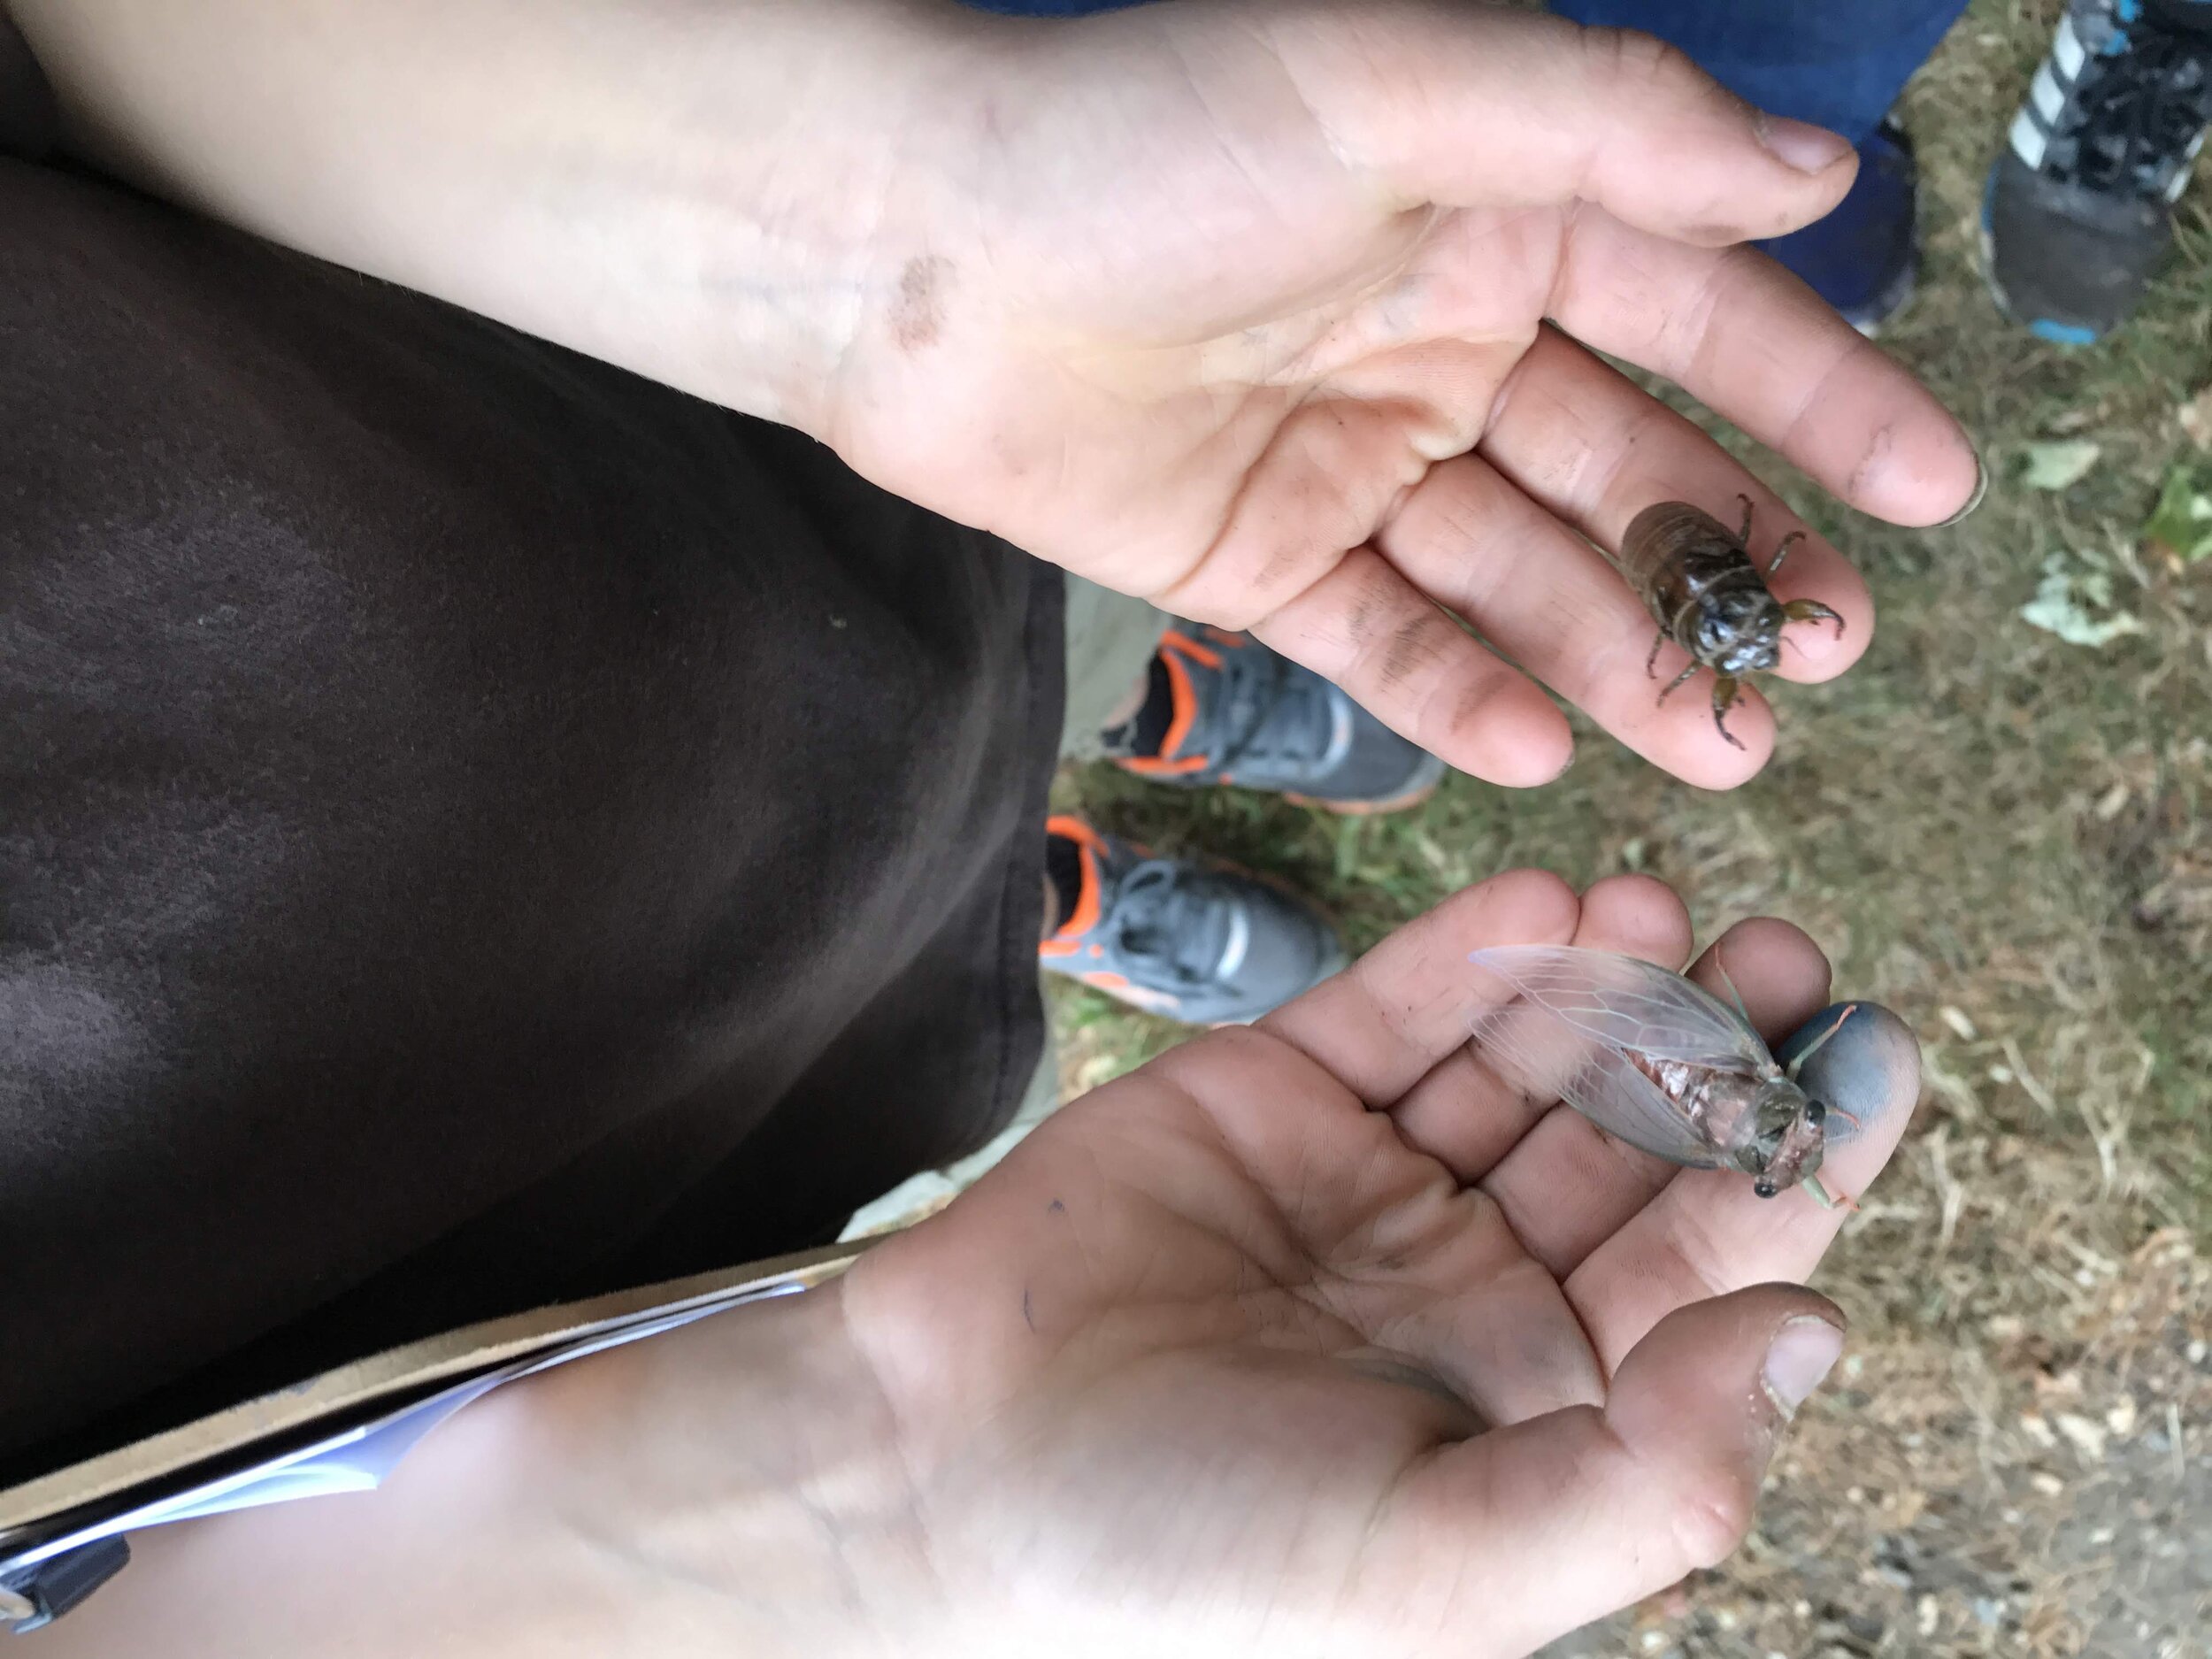
While you’re in the soil with your eggshell planters, it’s a perfect opportunity to go on a bug hunt. See how many bugs and what types of bugs you find. Pick them up if you’d like, but just be sure to bring them back home and talk to your kids about respecting animals and nature.
Make sure to dig in the ground, flip over rocks, look on trees and look under leaves. Kids can write down or draw their findings. You can talk to them about what they need to survive, where they might live, or the parts of their bodies.
Nature Crafts
leaf stamp
If you have paint at home, this activity takes leaf rubbing to the next level. Water colors and painting paper work best, but you can use whatever you have. You can apply a thin layer of paint on a leaf and press it like a stamp. You can hold the leaf still on a piece of paper and make silhouettes by painting over them. You can even go outside with paper or a plastic plate and rub different leaves and flowers on them to see which makes the best natural paint.
To engage their curiosity and spark their creativity, look for different shapes, colors, and patterns. You can talk about the differences between leaves, what different advantages different plant shapes have, and what even is a leaf. Leaf collecting is a great opportunity to talk about basic leaf types (ferns, flowers, sheaths, etc) and different types of tree leaves.
You could even make your own paint out of natural materials. Here are some resources to check out:
Leaf Identification Key - basic, native types of tree by their leaves
leaf crowns
This quick craft is a great way to use up natural things that your kid collected on your last trip outdoors. You can use any type of paper or fabric to make the crown and decorate it with whatever you want. Cut the paper into long strips and connect them with tape, glue, or staples. It’s best to finish decorating your crown before connecting the last two ends. You can cut the paper into different shapes, color them how you like, and add any petals, leaves, or other natural materials you find.
orange Peel BIRD-FEEDER
For this craft, you’ll need some oranges, string, birdseed or sunflowers, and a knife.
Cut the orange in half and be sure to preserve the peel. In each hollowed-out half, cut a small x in the orange skin below the rim. Make a cut on the opposite side of the skin. Make two more cuts in between the first two. There should be four cuts equal distance to each other
Poke a stick through two opposites holes. Do the same for the other holes. You should have two sticks making an “X” shape. Tie string to the ends of the sticks, hand them on a tree and put birdseed inside. Make sure to step back and take the time to observe who visits.
Another resource for this activity - great for educators
What we’re reading
We felt inspired by Molly Oswaks’ article,People Have Gone Full 1800s in the New York Times this week, where she highlights how people are returning to old-school activities and childhood crafts during the pandemic. Her article talks about people escaping technology and goal-oriented lifestyles, the psychological benefits of having hobbies, and mentions a lot of unique craft ideas. We wanted to share one with you, with some easy ways to press flowers from home.
DIY flower pressing
Flower pressing can be used to make works of art, decorate your home, or preserve colorful flowers for years. When you have a fresh flower or bud, cut the stem at an angle and remove low leaves. You want to hydrate the flowers in water with sugar or flower food for a few hours. Small or thin flowers are easiest to press, but bigger flowers can be cut in half.
The Book method: Place your flowers in between two pieces of paper and put the papers between the pages of a book. Close the book and weigh it down with more books, bricks, or anything heavy. Change the paper every few days and the flower should be dry in a few weeks. Be careful with the dry flowers, they are very fragile
The Ironing method: Flatten the flower with a book and put the flower in between two pieces of absorbent paper. Empty the water in your iron and turn it on to the lowest setting. Hold the warm iron still onto the flower for 15 seconds. Let it cool for 15 before checking the flower. Repeat the process until the flower is completely dry.
This will be our last STEAM at Home post for a little while. If you want to be notified of our next post, you can subscribe with the form below. For more STEAM activities, you can check out the rest of the STEAM at Home series, our educator resources, Exploratorium for science experiments, or Tinkergarten for more nature crafts and exploration. If you have any questions, comments, or ideas your want to share, we will still be available at wonderlabsteam@gmail.com.